|
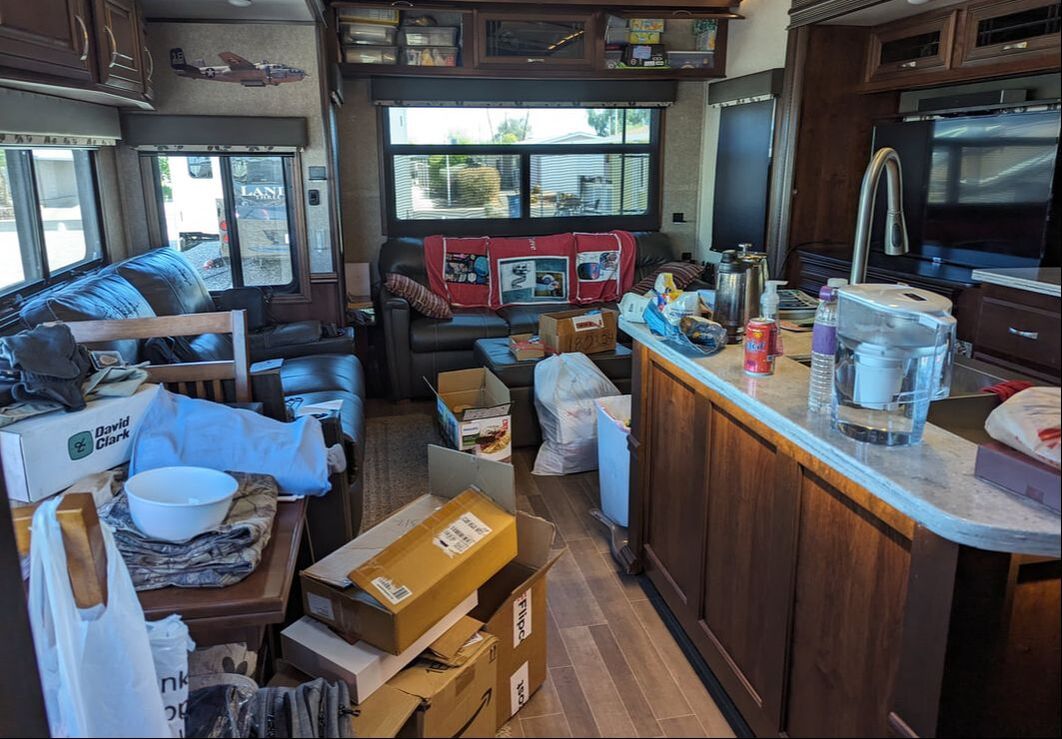
Spring cleaning takes on new meaning when you live full time in an RV—especially if you stay in one place for the winter months. It’s easy for items to accumulate and take up precious space in your rig. Without closing and opening RV slideouts, it can seem like there’s more than enough room for both your existing and new belongings. When travel looms, however, RV owners are forced to find homes for things that could be in jeopardy if left out during relocation. This can be a stressful endeavor with space at a premium. Although Bob and I have been full-time RVers for four years, staying stationary for about five months during the winter, we still haven’t mastered the “one-in, one-out” methodology to introducing new items to our fifth wheel. As a result, we end up dedicating one day a year to minimizing our accumulations before hitting the road. Eradicating Extras Admittedly, the purging process has gotten easier. We’ve definitely learned to acquire less than we accumulated after two years of travel. To be fair, though, some of those items were leftovers from our sticks and bricks. We take a structured approach to the eradication process, going through all of our clothing, drawers, and cabinets. But because we start out with less than we originally did, we have a better idea of the extras we’ve gained. That makes paring down easier. Our biggest challenge tends to be finding permanent locations for larger items we obtain, such as a pasta maker, food sealer, and toaster. Protecting a Pasta Maker Removing the pasta maker from its box proved to be a good decision, significantly minimizing its footprint. But we had to be strategic in the placement of the appliance to ensure its safekeeping during transit. I found the optimal spot behind our recliner loveseat. After verifying that the gadget would be out of harm’s way with the recliners both open and closed, I had to determine what to do with the pasta maker’s accessories. Lacking weight, they could get jostled and lost if we stowed them with the machine. I put them in a gallon-size zippered plastic bag and looked around the rig for the ideal location. Bob suggested a kitchen drawer where nothing could slide into them. The solution worked perfectly.
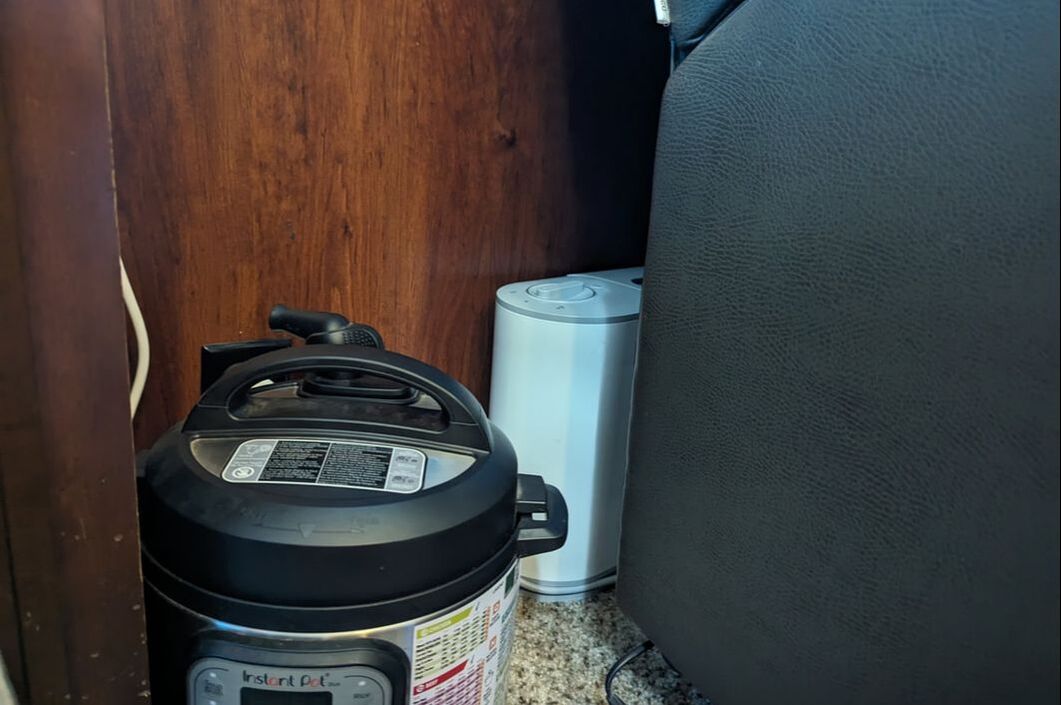
Finding a Home for a Food Sealer Moving on to the food sealer, I came up with a plan to stash it in an out-of-the-way interior corner near our dining table. The device fit there beautifully. But I still had to stow four rolls of plastic wrap for the machine. Examining the interior of our upper rear cabinets, where we had previously found evidence of a mouse invasion, I discovered some empty space in the plastic, lidded bins we had purchased to protect our dry goods from another rodent attack. Moving some things around and removing items we knew we wouldn’t use provided just enough room for all four rolls. Problem solved. Tucking Away a Toaster When we started our RV life, we gave up our toaster, thinking it a fire hazard in an RV. Plus, it consumes a significant amount of electricity when we’re running on batteries. After three years of making “toast” in an iron skillet when we wanted the indulgence, we invested in a used toaster from a thrift store. It weighed little, cost little, and fit well in a deep kitchen drawer. The only problem? It took the in-transit space of our coffee French press and a saucepan we use for boiling water. We had planned to leave the toaster behind before we hit the road, but we had grown to enjoy the occasional delicacy it provided. With travel approaching, we had to find a more permanent solution for housing the appliance. As a general rule, we strategically pack our cabinets and drawers to minimize items shifting during transit. Because of that, we had limited options for our treasured device as most drawers and cabinets lacked space for something its size. But then I had an idea. The shelf in the cabinet under our bathroom sink could work. Sure enough, the toaster fit in that spot. The travel toaster solution may be a bit unconventional, but it allows us to keep the toaster. Once we arrive at a location, we remove our water-boiling saucepan and French press from its kitchen drawer, and the toaster takes up residence there for easy kitchen access. There’s something liberating about having few possessions to weigh us down. Because of that, we’ll continue to set aside time for spring cleaning. It’s well worth it for the freedom it gives us to go where we want, when we want, and spend time with the people we want. You might also like What an RV Travel Day Is Like.
4 Comments
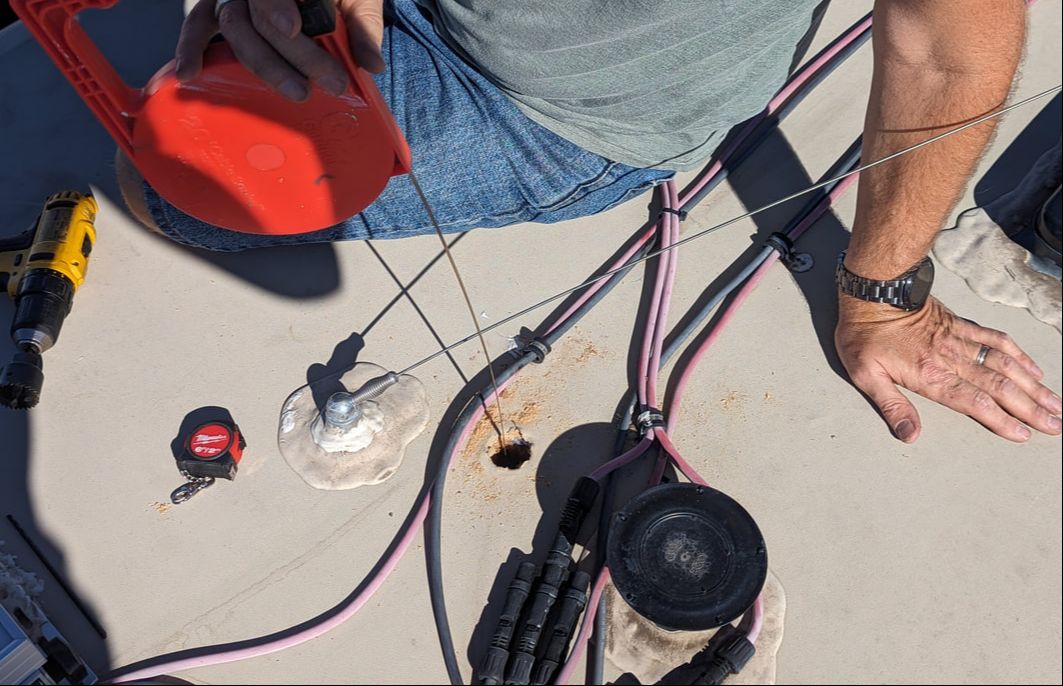
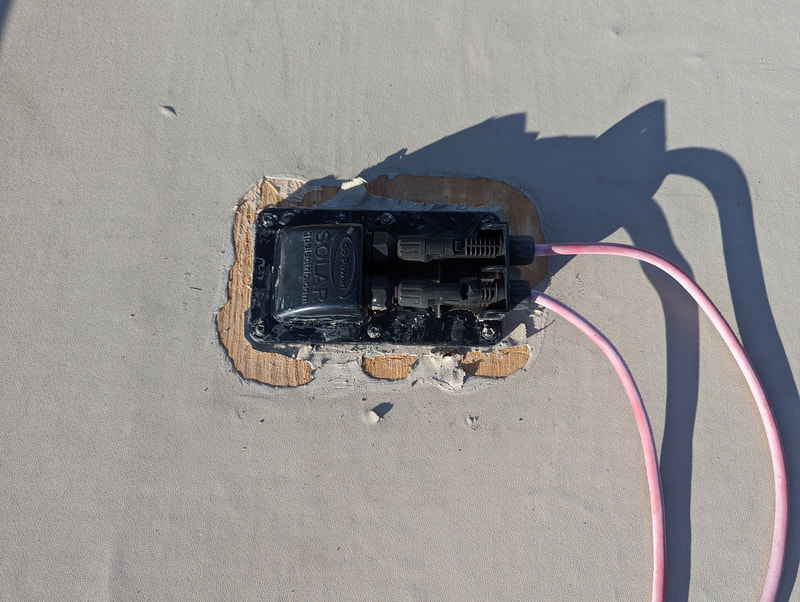
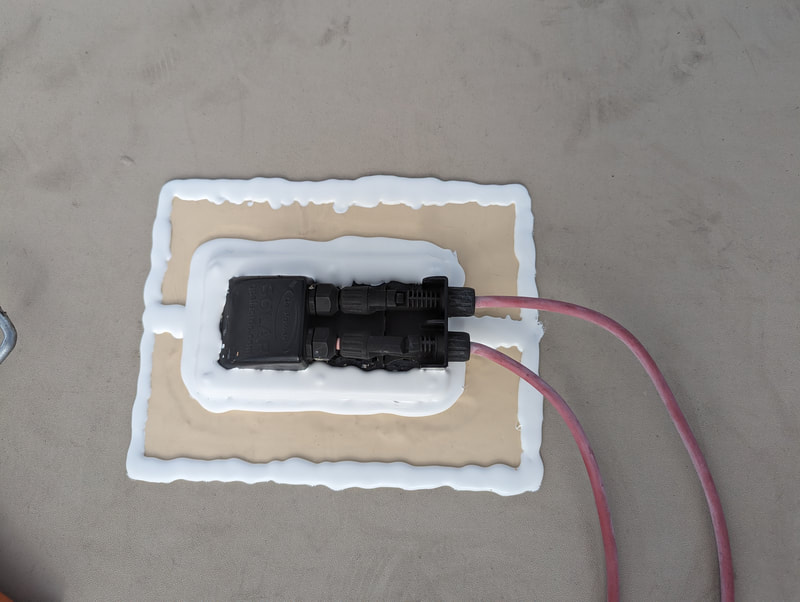
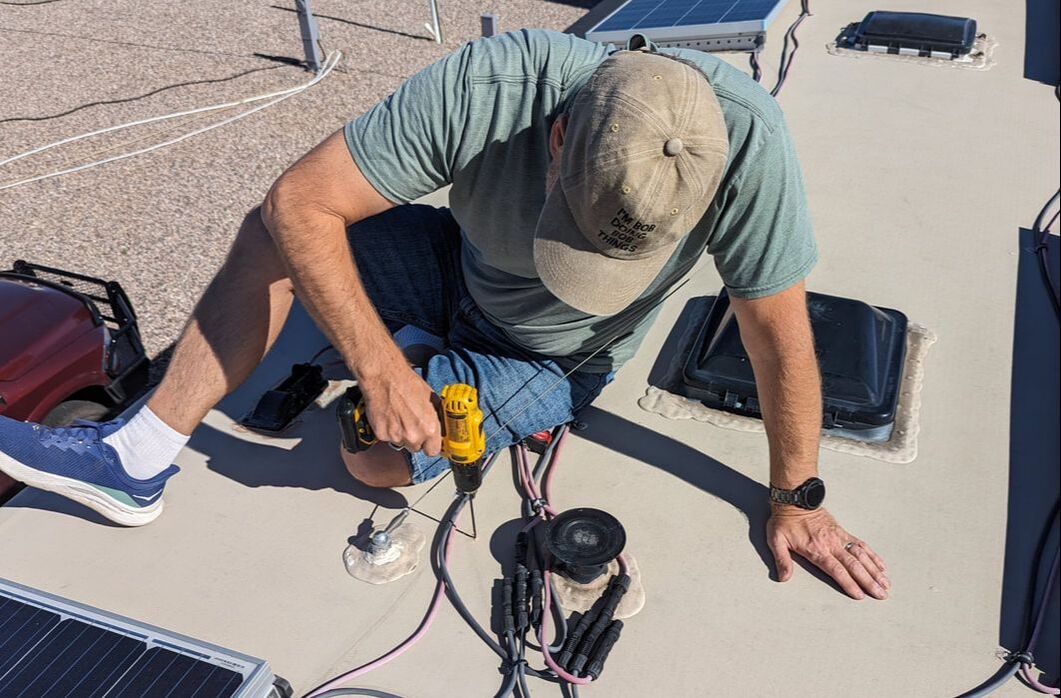
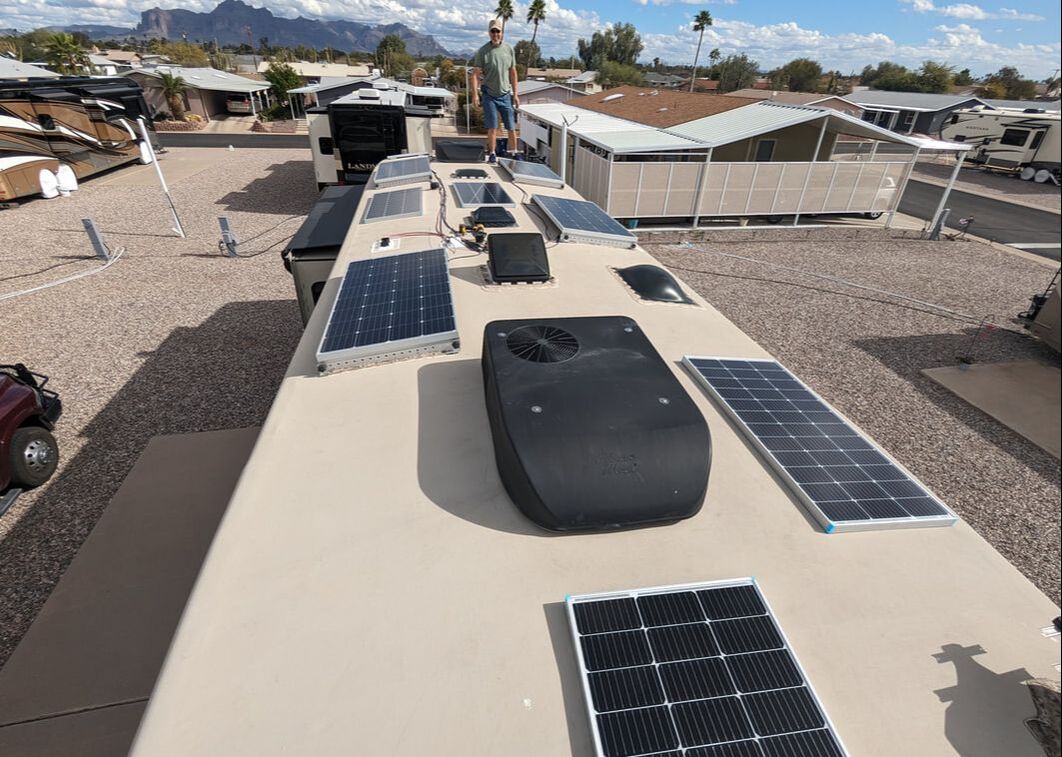
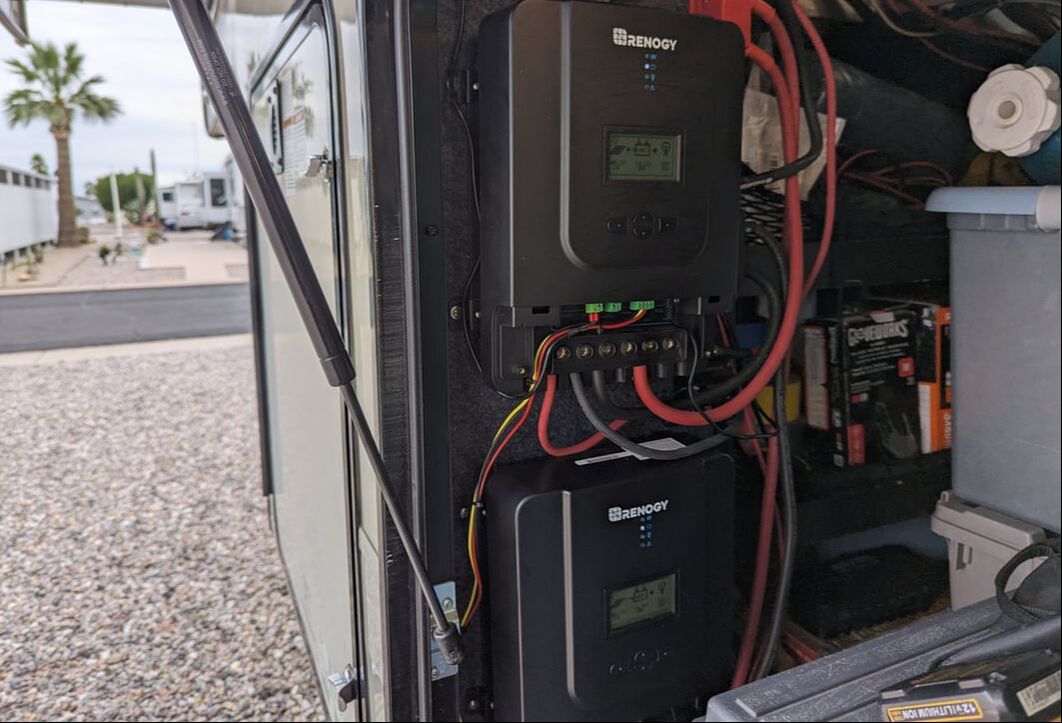
“I need to drill a hole in the roof,” Bob told me. A red flag quickly sprang up in my brain, reminding me of the many months of roof troubles we had encountered only a year earlier. Those issues had resulted from a leak. We certainly didn’t want to introduce the possibility of another one. The impetus behind this intentional hole in the RV roof was to run another pair of cables to support additional solar panels, significantly increasing our power capacity for boondocking endeavors. Bob thought we could add another junction box next to the existing one on the roof for the six solar panels already in place there. But, after attempting to break the seal around the attached box to get underneath it — prior to his announcement to me — he had managed to cut through Tagalong’s roof membrane, exposing plywood to the elements. Breaking Through the Ceiling Per usual with any roof job, the weather forecast called for rain, giving us a definitive deadline to get the wood covered. Some Durabond tape and self-leveling caulk took care of that. But Bob still needed to add the other cables and junction box. With our longest drill bit secure in our cordless drill, he started making a hole in the roof as I watched, my anxiety easing at seeing just a tiny hole. When the bit didn’t cut all the way through to the interior ceiling, Bob remembered he had to cut through the space between the roof and rafters. We needed a longer drill bit. An RV neighbor loaned us one, and Bob was able to break through the ceiling. Then, using a borrowed fish tape, he pulled some twine from inside the rig up to the roof — and then the cables needed to power the solar panels. Zip, zip, zip. Bob completed the wiring job, with the help of RV friend Alan. Placing the Panels The solar panels still needed to be added. On a blustery day, we managed to get the four new panels up on the roof, with Bob at the top of our onboard RV ladder and me climbing and clinging to the lower rungs to awkwardly hand each panel to him. Next came the placement. Where was the right location for each panel to ensure maximum sun exposure? After much deliberation, we agreed on the best arrangement, and Bob got busy securing the panels to the roof. With 10 solar panels, we should be able to live off grid indefinitely — well, until our black tank fills up. The additional panels provide 42% more electric-generating solar capacity than our previous arrangement did. For the new panels to convert solar power to usable electricity, Bob also had to install a second solar charge controller — along with myriad wires, fuses, and junctions — in the basement of our rig. He completed the install with no issues. The initial test of the new panels didn’t look promising. The new solar charge controller displayed a message indicating inefficient wattage. But after a couple of days — and the sun emerging from behind clouds — the new panels started working properly. Look out, America. Here we come for more boondocking!
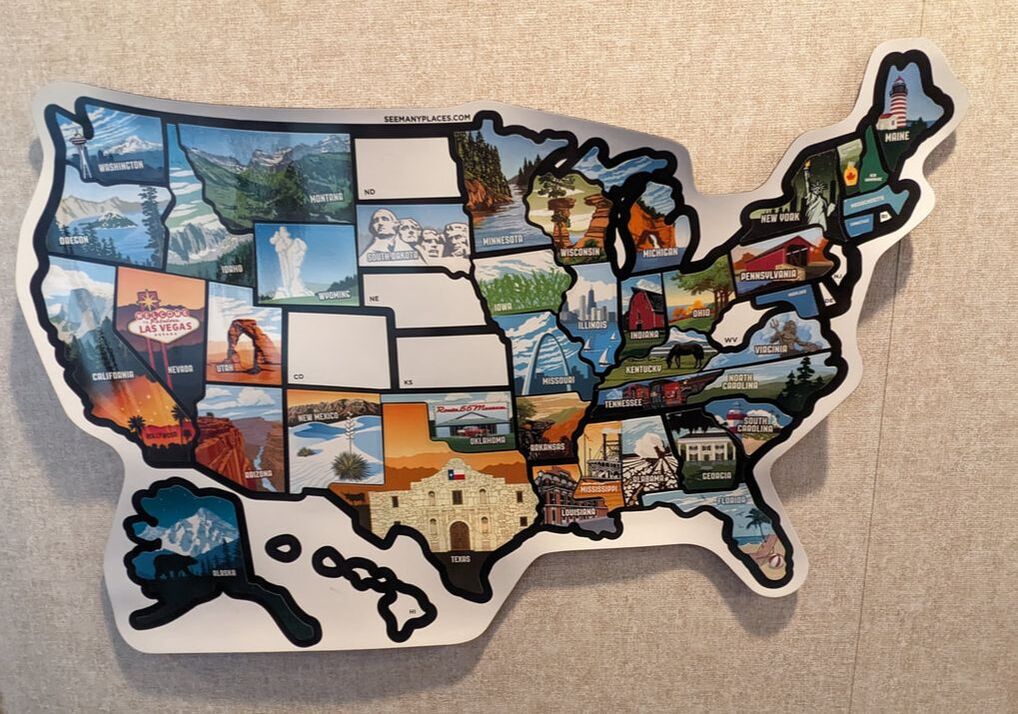
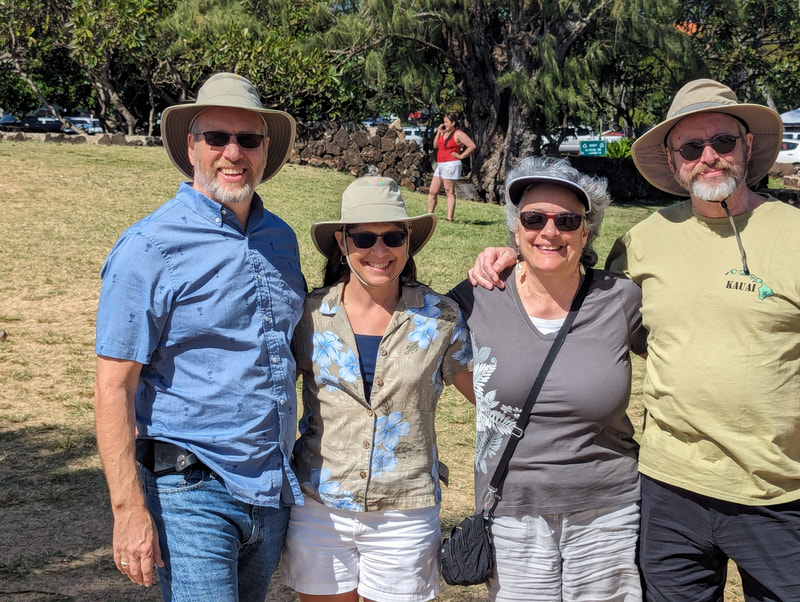
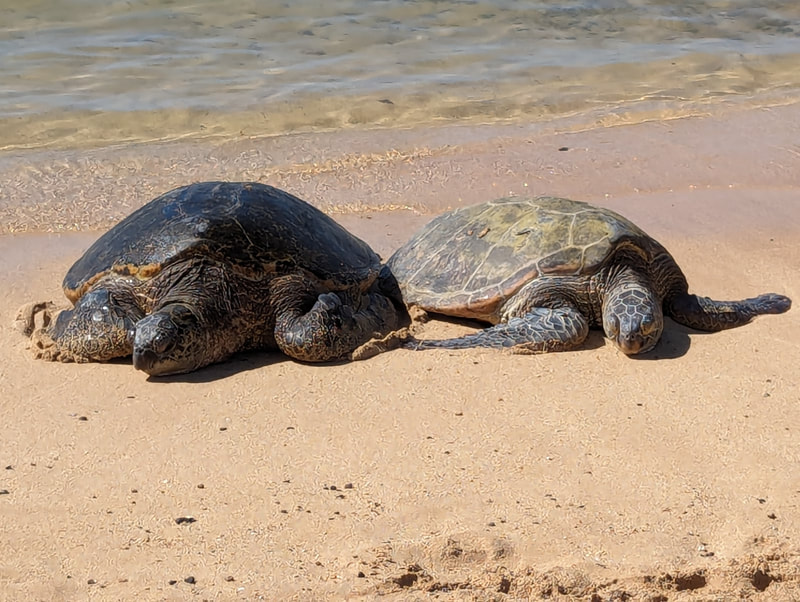
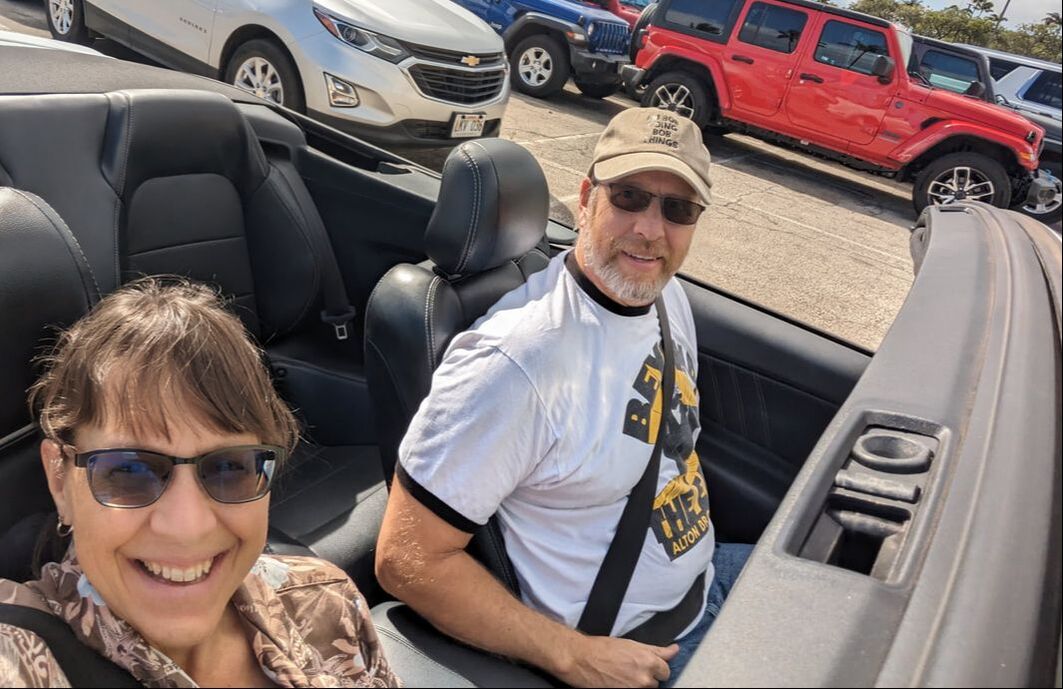
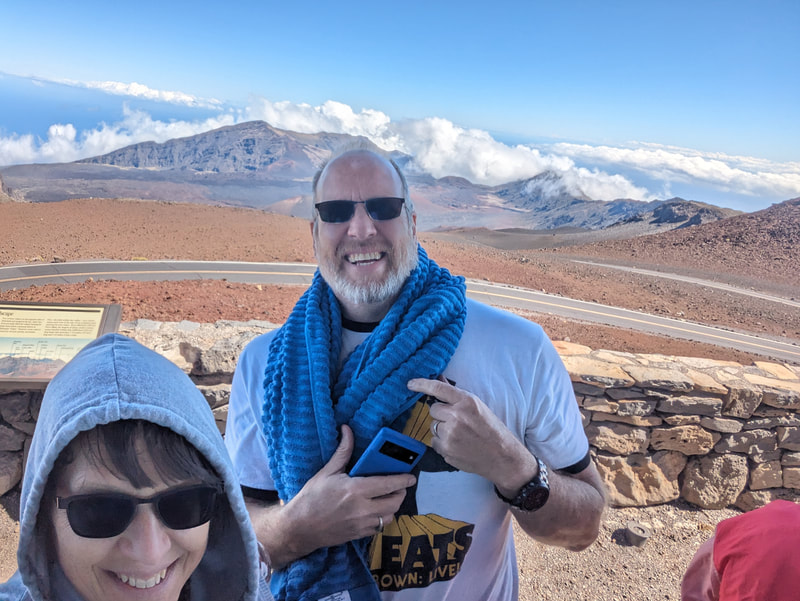
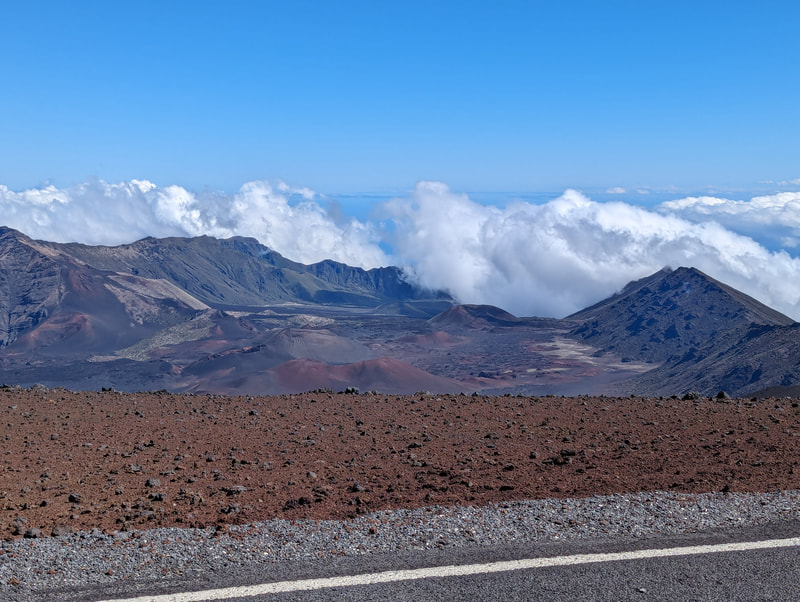
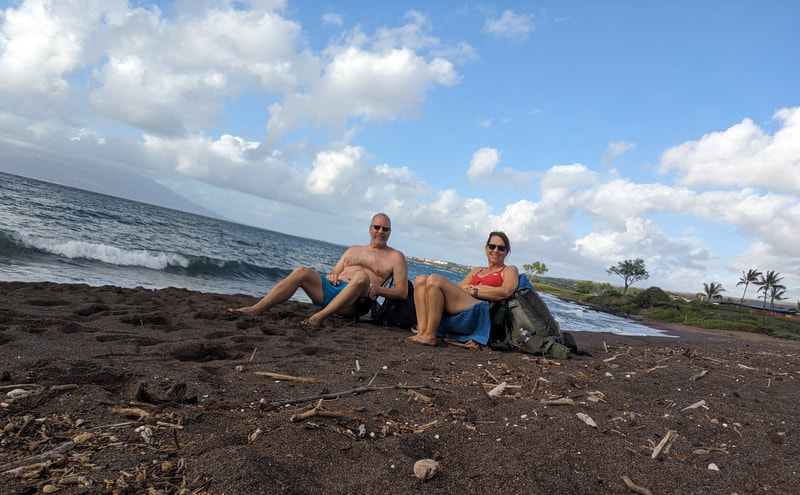
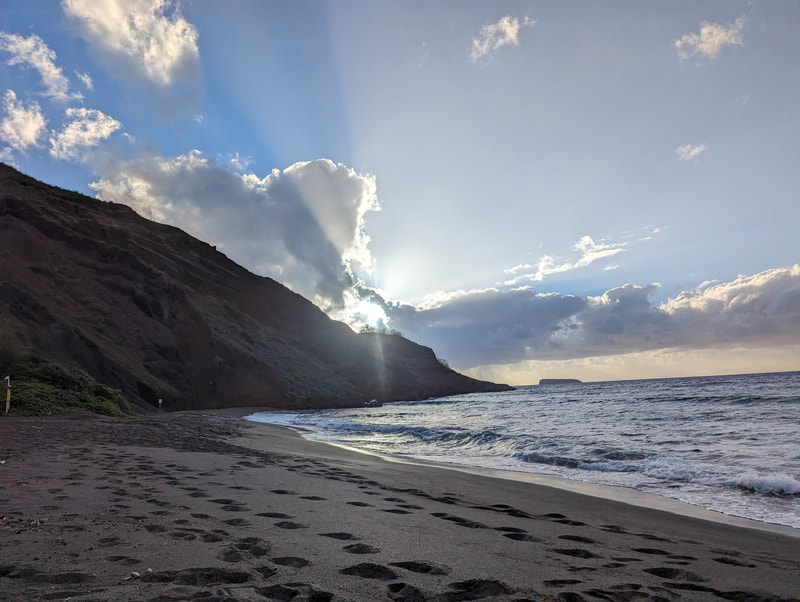
You might also like 12 Best RV-Related Purchases. When we started our full-time RV lifestyle in 2020, we began with a blank U.S. map. We decided that to add any state sticker to the map, we had to sleep in our rig in that state. The map includes the state of Hawaii, but how do RVers honestly put Hawaii on their map? We’ve heard about some creative ways to add the 50th state to an RV map. Some RVers have taken a picture of their rig with them when visiting Hawaii and hung it above their heads while sleeping to say they slept there in their rig. Small RV rentals, such as camper vans available on the islands, offer another possibility. Some RVers have left their traveling homes in the contiguous states and taken the camper van rental route to get Hawaii on their RV maps. We decided to forgo putting Hawaii on our map, but that didn’t prevent us from visiting the beautiful state. We did so by embarking on a cruise from Long Beach, California, with stops in Maui, Honolulu, Kauai, Kona, and Hilo. We slept on the cruise ship every night, so we technically didn’t sleep in the state anyway, even if we had taken a picture of our rig with us. Island Allure Millions of tourists are drawn to Hawaii’s volcanic islands every year for their tropical climate, bountiful flora, colorful sand beaches, captivating volcanoes, abundant sea life, expansive pineapple plantations, and plentiful hiking and surfing opportunities. Having taken the same cruise on the same ship eight years earlier, we were drawn by the 15-night sailing, our love of cruising, and easy accessibility to Los Angeles from Arizona. After a very busy year, a cruise offered a much-needed getaway for us to disconnect from technology, unwind, and refresh. After relishing four relaxing sea days, being rocked to sleep every night by the ocean waves, we toured volcanoes, paid our respects to the soldiers entombed in Pearl Harbor, basked in the Hawaiian sun, dined on fresh seafood, and admired uncommon-to-us sea life. One of the things we enjoy about our full-time RV lifestyle is the myriad opportunities we get to visit friends and family across the country. We had that same opportunity in Kauai, where Bob’s brother Rick and his wife, Carolyn, were vacationing. We spent a wonderfully easygoing day with them — and even saw sea turtles and whales. Making Memories The highlight of our Hawaii visit was renting a Mustang convertible in Maui and driving to the top of Haleakala Crater, a national park with a summit that rises 10,023 feet above sea level. As the car ascended the switchback road, we found ourselves high above the clouds without being in an airplane. We even looked down on a rainbow, a truly unique experience (but unfortunately didn’t get any pictures of it). When we reached the visitor center shortly after the park entrance, gusting winds made us shiver — and close the car top. A few miles later, at the summit parking lot, the outdoor temperature registered 48 degrees. Pushing the car doors open against what felt like 35 mph winds — and dressed in only shorts and short sleeves — we braved the cold, passing ice on the ground as we approached an overlook building. Closed, it offered no respite from the cold blasts. We quickly snapped some pictures overlooking the crater and ran back to the car to return to the visitor center. After descending the volcano and reaching normal altitude, we opened the top of the car to enjoy the Hawaiian sun. With some of our favorite Petra tunes blaring, we drove toward a black beach off the beaten path. In Hawaii, all of the beaches are public. Despite that, we had this one virtually all to ourselves.
Of course, we had to go into the water. We had originally planned to snorkel here, having read about the coral reef not too far from shore. But the wind had made the waves choppy and the water murky. We swam for a while and then sat in our beach chairs to dry as the sun neared the horizon, thankful for an amazing day, time together, and God’s beautiful creation around us. You might also like Where We Park Our Rig for Flight/Cruise Travel. |
AuthorThis is the travel blog of full-time RVers Bob and Lana Gates and our truck, Gulliver, and fifth wheel, Tagalong. Categories
All
Archives
July 2024
|

 RSS Feed